
Homemade Cheesy Breadsticks: A Cheesy and Gooey Delight 🧀🥖✨
1. Introduction: Indulge in the Best Homemade Cheesy Breadsticks
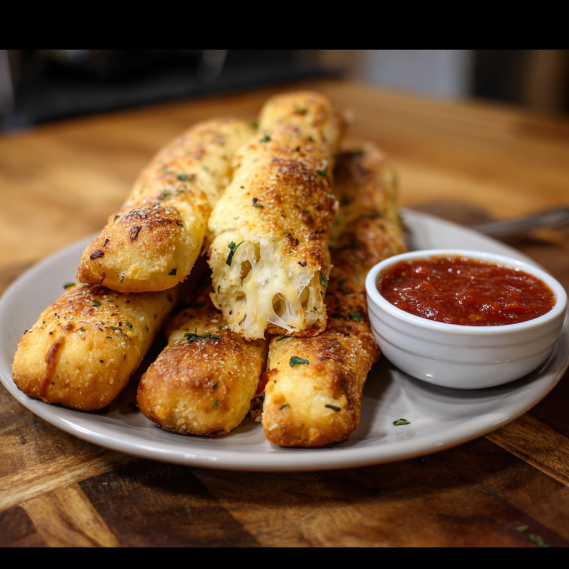
Welcome to your new favorite snack obsession: Homemade Cheesy Breadsticks! These aren’t just any breadsticks; they’re a symphony of flavors and textures, perfect for any occasion. Whether you’re hosting a party, settling in for a cozy movie night, or simply craving an irresistible cheesy treat, these breadsticks are guaranteed to steal the show. Imagine sinking your teeth into a perfectly baked, golden-brown breadstick, oozing with melted cheese and boasting a satisfyingly crisp exterior. The delightful contrast of textures and the rich, savory flavor make these breadsticks utterly addictive. Plus, they’re surprisingly easy to make from scratch! Pair them with a vibrant marinara sauce for an extra layer of zing, and watch as they disappear in minutes. Ready to learn how to create these delectable cheesy breadsticks right in your own kitchen? Let’s dive in and discover the secrets to baking the perfect cheesy snack!
2. Ingredients for Exceptional Cheesy Breadsticks
To craft the most amazing homemade cheesy breadsticks, you’ll need these key ingredients. Each element plays a vital role in achieving that perfect balance of flavor and texture:
- 2 cups all-purpose flour: Forms the base of our breadsticks, providing structure and chew. For a slightly nutty flavor, consider using bread flour.
- 1 tablespoon baking powder: Gives the breadsticks their light and airy texture, ensuring they’re not dense.
- 1 teaspoon salt: Enhances the flavor of all the other ingredients and balances the richness of the cheese.
- 1 cup shredded mozzarella cheese: The star of the show! Mozzarella melts beautifully, creating that gooey, cheesy pull we all crave.
- 2 tablespoons butter, melted: Adds richness and flavor to the dough, and helps to create a tender crumb.
- 3/4 cup milk: Provides moisture and helps to bind the dough together. You can also use buttermilk for a tangier flavor.
- 1 teaspoon garlic powder: Infuses the breadsticks with a savory garlic aroma that complements the cheese perfectly. For fresh garlic flavor, you can use fresh roasted garlic, like in this creamy chicken recipe.
- 1 tablespoon dried Italian herbs (optional): Adds a touch of herbaceousness and complexity. A blend of oregano, basil, and thyme works wonderfully. Looking for something different? Check out this sweet and spicy garlic steak pasta that might just strike your fancy!
- Parmesan cheese for topping: Provides a salty, umami-rich finish that enhances the overall flavor profile.
- Marinara sauce for dipping: The perfect accompaniment to these cheesy delights! Its acidity cuts through the richness of the cheese and adds a burst of fresh tomato flavor. Consider trying it with this tomato pasta
3. Step-by-Step Instructions: Making Your Own Cheesy Breadsticks
Step 1: Prepare the Dough for the Best Cheesy Breadsticks
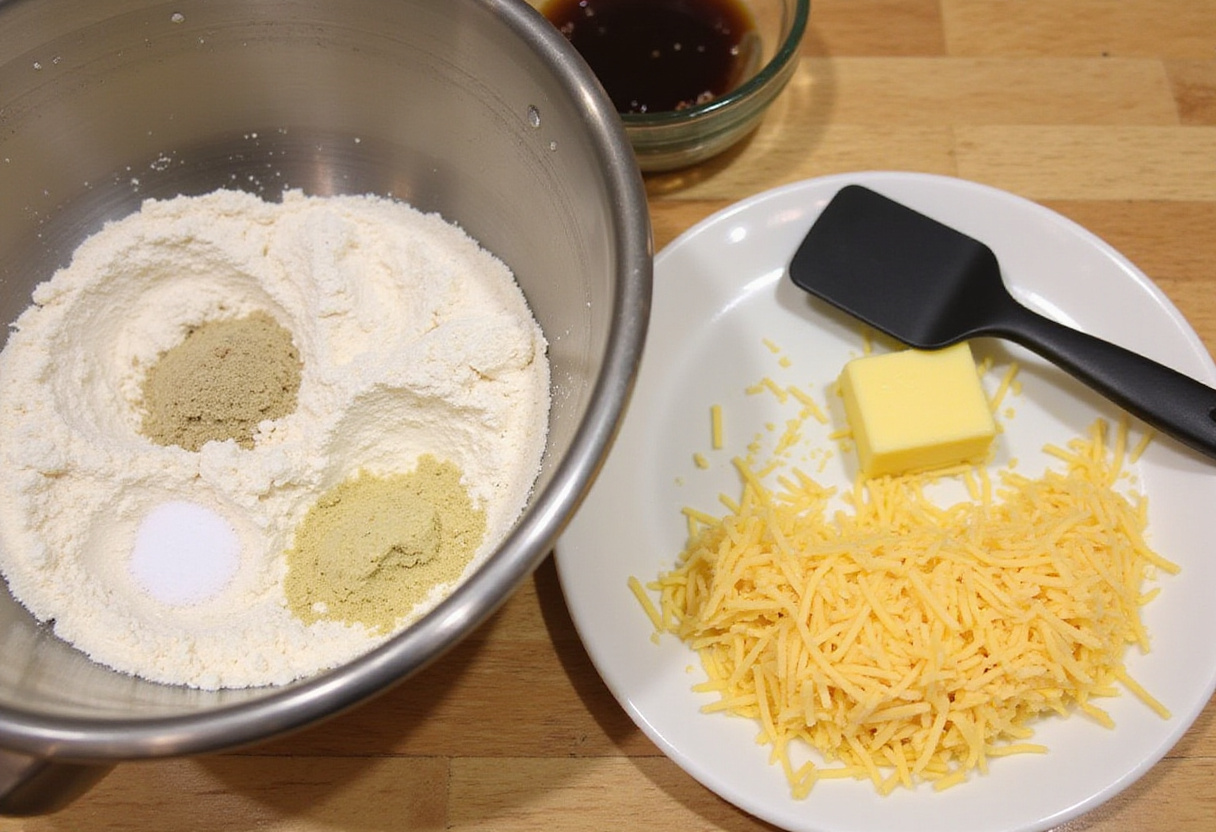
Begin by creating the foundation for your delightful cheesy breadsticks. In a large mixing bowl, meticulously combine the all-purpose flour, baking powder, salt, the majority of the shredded mozzarella cheese (reserve some for topping!), garlic powder, and dried Italian herbs (if you’re using them for that extra layer of flavor). Use a whisk to thoroughly blend these dry ingredients together. This ensures that the flavors are evenly distributed throughout the dough, promising a delicious cheesy bread sticks experience in every bite.
Step 2: Knead the Dough to Perfection for Cheesy Breadsticks
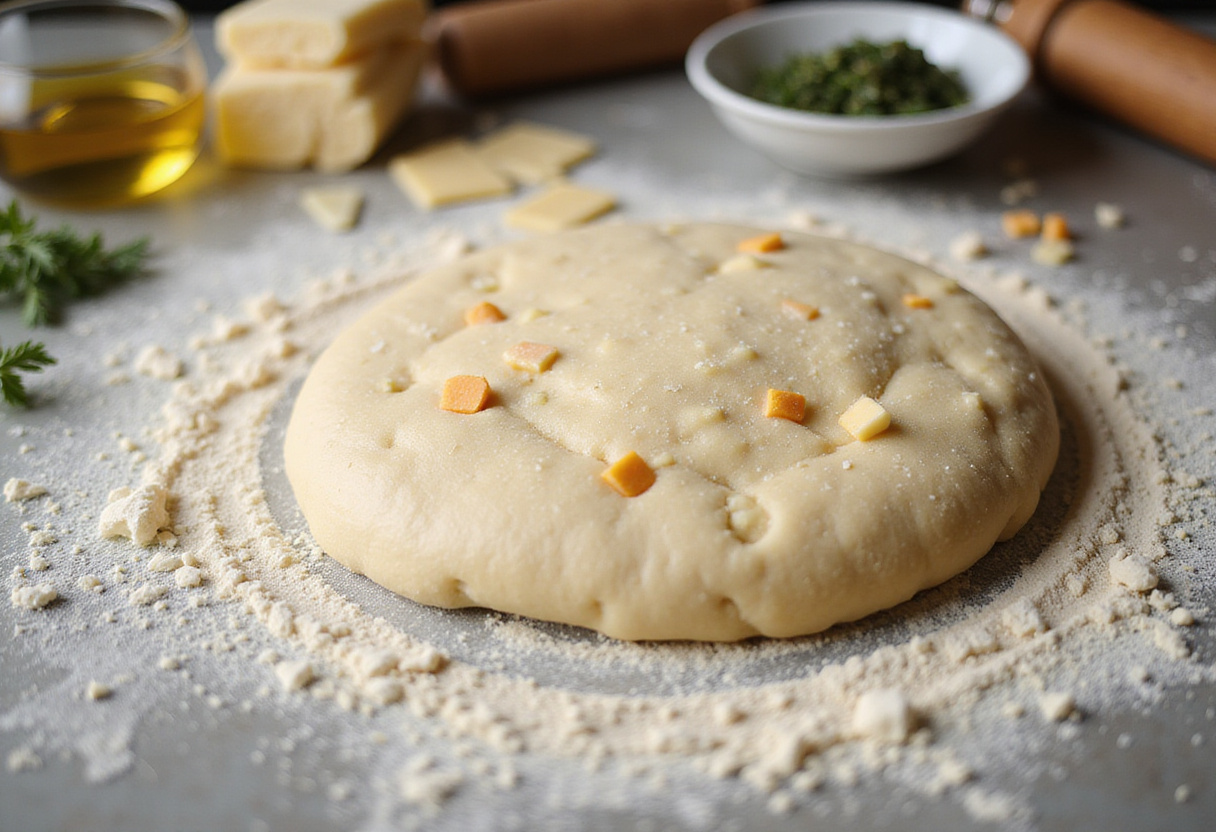
Now, for the magic! Create a well in the center of the dry ingredient mixture. Gently pour in the melted butter and milk. Use a spoon or spatula to gradually incorporate the wet ingredients into the dry, mixing until a shaggy dough begins to form. Then, transfer the dough onto a lightly floured surface. Knead the dough with your hands for approximately 5 minutes, or until it transforms into a smooth and elastic ball. This kneading process is crucial for developing the gluten, which will give your homemade cheese bread sticks their signature chewiness. If you love adding cheese to your food, you might like to try this taco lasagna.
Step 3: Shape and Top Your Cheesy Breadsticks
Preheat that oven to a toasty 400°F (200°C). Lightly flour your work surface to prevent sticking. Roll out the dough into a rectangle that’s about 1/2 inch thick. Using a sharp knife or pizza cutter, carefully cut the rectangle into strips of your desired width – think of the size you’d want your final cheesy breadsticks to be. Gently transfer the strips onto a baking sheet lined with parchment paper. This prevents sticking and makes for easy cleanup. Brush the tops of each breadstick with the remaining melted butter, then generously sprinkle with the reserved mozzarella cheese and Parmesan cheese.
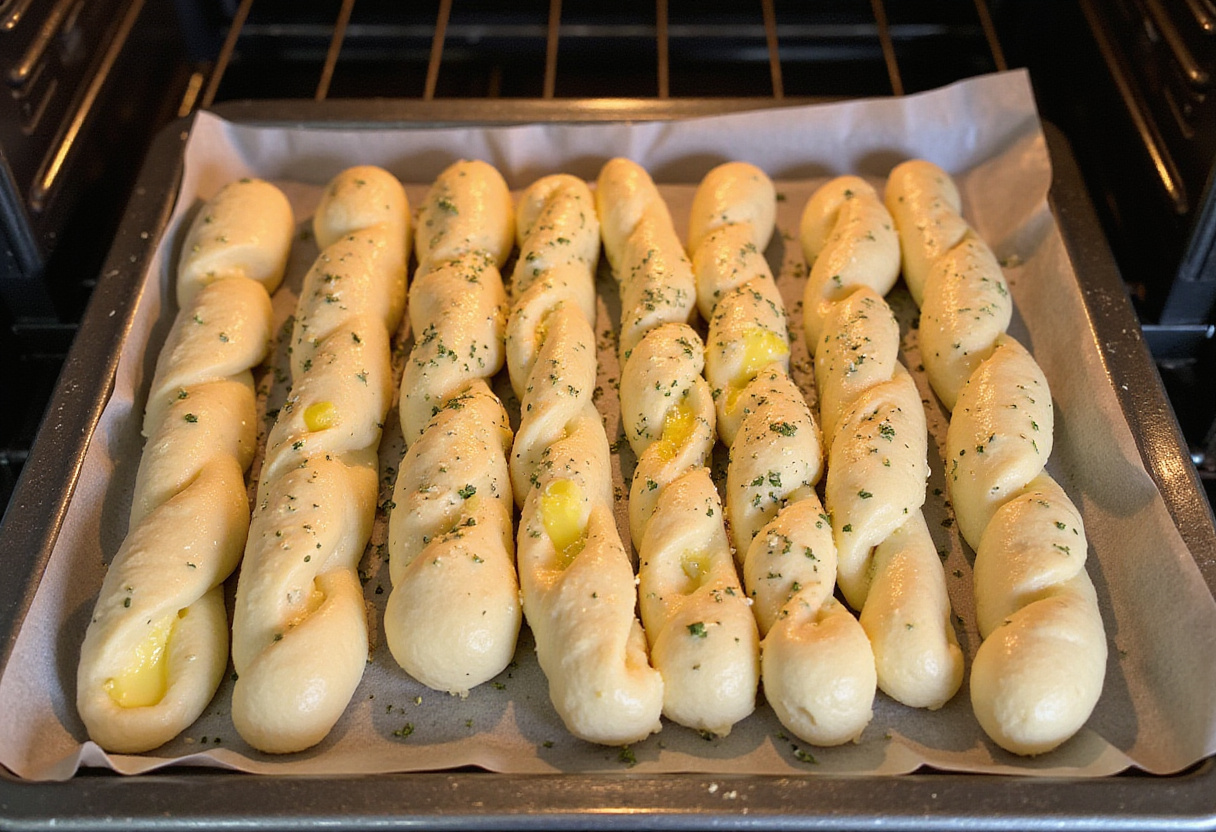
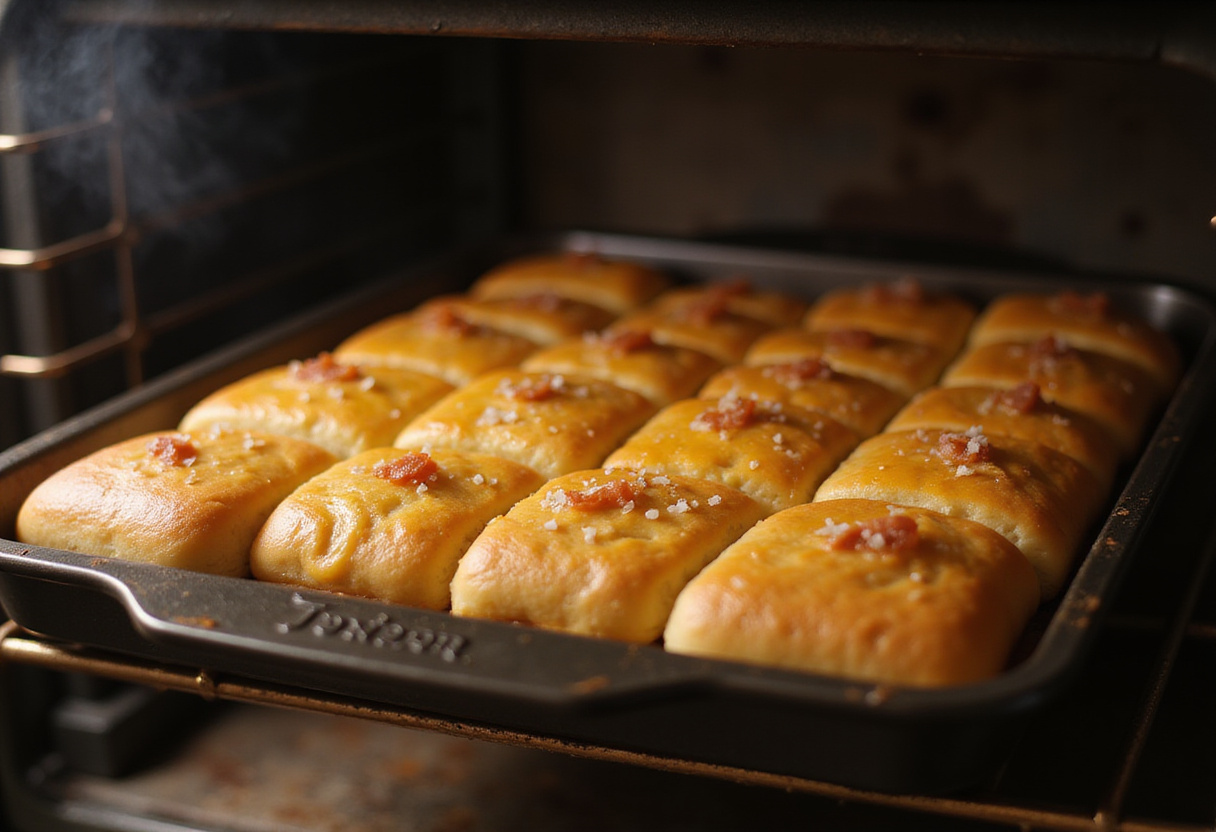
Step 4: Bake, Serve, and Enjoy Your Cheesy Breadsticks!
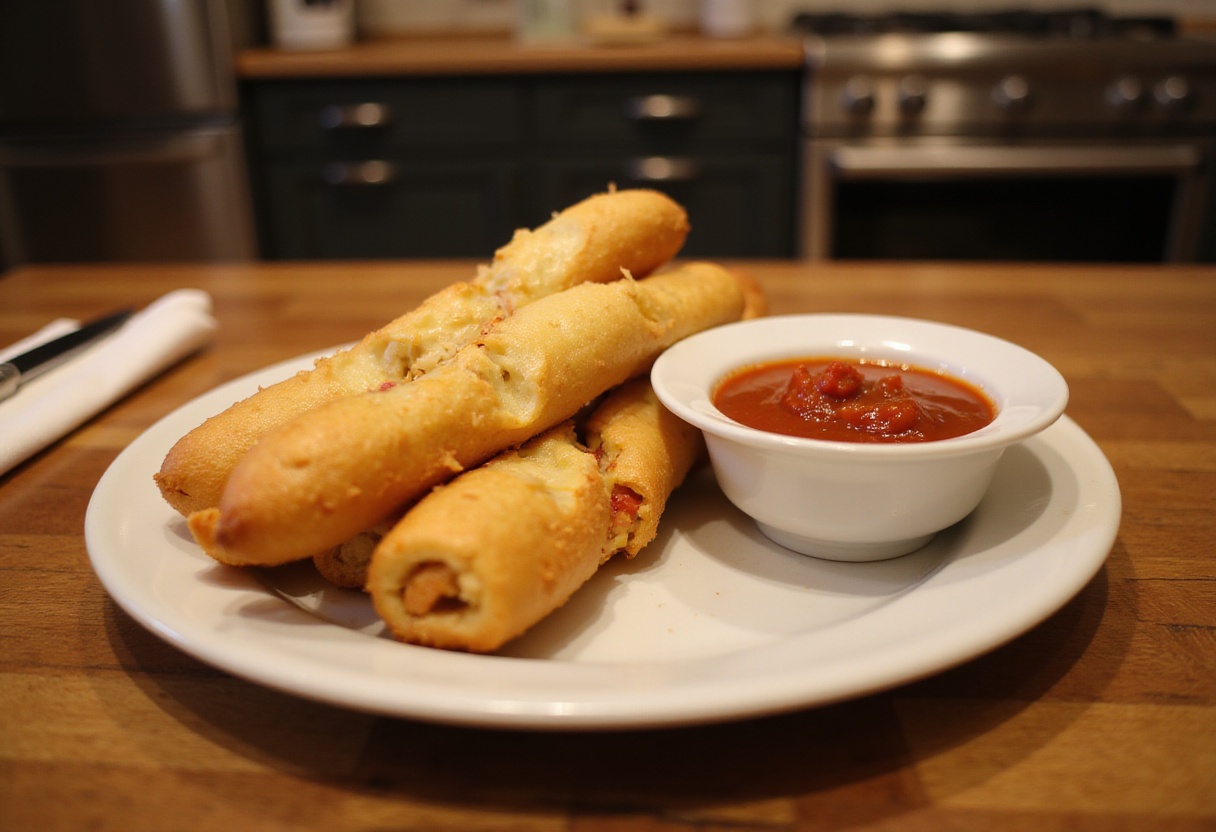
Carefully place the baking sheet into the preheated oven and bake for 15-20 minutes, or until the cheesy breadsticks have transformed into a beautiful golden brown. Keep a close eye on them to prevent burning! Once they’re perfectly baked, remove the baking sheet from the oven and allow the breadsticks to cool slightly on the baking sheet before serving. This will prevent you from burning your fingers! Now comes the best part: serving your magnificent Homemade Cheesy Breadsticks with a side of warm marinara sauce for dipping. These delicious sticks would go great with this sausage casserole. Get ready to enjoy the ultimate cheesy indulgence, hot and fresh from your oven!
For an alternative approach to these breadsticks, you can check out this recipe. Homemade Cheesy Breadsticks
4. Storage Tips: Keeping Your Breadsticks Fresh
Want to savor your Homemade Cheesy Breadsticks for longer? Here’s how to store them properly: To store, let the breadsticks cool completely. Then, place them in an airtight container at room temperature. They’ll stay fresh for up to 3 days. For extended storage, freezing is an excellent option. Individually wrap each breadstick in plastic wrap to prevent freezer burn, then place them in a freezer-safe bag. Frozen breadsticks can be stored for up to 3 months. To reheat, simply bake them in a preheated oven at 350°F (175°C) for 5-10 minutes, or until warmed through and the cheese is melted and gooey again.
5. Serving Suggestions: Elevate Your Cheesy Breadsticks Experience
Take your Homemade Cheesy Breadsticks to the next level with these tempting serving suggestions: Serve them warm with a generous side of marinara sauce for dipping – the classic pairing! For a creamy alternative, try ranch dressing or a homemade garlic aioli. Get creative with toppings! Sprinkle extra Italian herbs, chili flakes, or even a drizzle of pesto on top just before serving for an extra burst of flavor. These cheese bread sticks make a fantastic accompaniment to a variety of dishes. Serve them alongside a hearty pasta dish, a comforting bowl of soup, or as a crowd-pleasing appetizer at your next gathering. You may also be interested in this pasta recipe to serve alongside with your breadsticks.
6. FAQs: Your Cheesy Breadsticks Questions Answered
Q1: Can I use different types of cheese for the breadsticks?
A: Absolutely! Feel free to experiment with different cheeses to create your own unique flavor combinations. Cheddar, pepper jack, provolone, or even a blend of your favorites would all work wonderfully. Just be sure to use cheeses that melt well for that desirable gooey texture.
Q2: How can I make these breadsticks healthier?
A: To make your homemade cheese bread sticks a bit healthier, consider substituting whole wheat flour for all-purpose flour. This will add more fiber and nutrients. You can also reduce the amount of butter or use a healthier oil option, such as olive oil. Additionally, consider using part-skim mozzarella cheese to cut down on fat content.
Q3: Can I make the dough in advance?
A: Yes, you can definitely prepare the dough ahead of time! Once you’ve kneaded the dough, place it in a lightly oiled bowl, cover it tightly with plastic wrap, and store it in the refrigerator for up to 24 hours. When you’re ready to bake, simply remove the dough from the refrigerator and let it come to room temperature for about 30 minutes before rolling it out. Do you want to find another food to do in advance? This beef and broccoli recipe tastes better when pre-prepared.
Q4: What can I do if my dough is too sticky?
A: If you find that your dough is too sticky to handle, don’t worry! Simply add a little more flour, one tablespoon at a time, until it reaches a manageable consistency. Be careful not to add too much flour, as this can make the breadsticks tough.
Q5: Can I add toppings to my breadsticks before baking?
A: Definitely! Get creative and customize your Homemade Cheesy Breadsticks with a variety of toppings. Sesame seeds, poppy seeds,Everything bagel seasoning or chopped fresh herbs like rosemary or thyme all make fantastic additions. You can also sprinkle a little sea salt on top for an extra burst of flavor. If you are looking for the perfect snack, you may want to try this cruffins recipe.
7. Conclusion: The Joy of Homemade Cheesy Breadsticks
Homemade Cheesy Breadsticks are more than just a snack; they’re a celebration of simple ingredients transformed into a delightful culinary experience. With their irresistible combination of gooey cheese, herby flavor, and satisfyingly crisp texture, these breadsticks are destined to become a staple in your recipe repertoire. Perfect for any occasion, from casual weeknight dinners to festive gatherings, they’re guaranteed to impress your family and friends. So, gather your ingredients, preheat your oven, and embark on a cheesy adventure! Start baking these delightful cheesy bread sticks today and discover the unparalleled joy of homemade goodness.
Print
Homemade Cheesy Breadsticks
- Total Time: 35 minutes
- Yield: 12 breadsticks 1x
- Diet: Vegetarian
Description
Indulge in the cheesy delight of Homemade Cheesy Breadsticks, where every bite is a perfect balance of gooey cheese and a crispy exterior. Ideal for snacks, parties, or cozy nights in, these easy-to-make breadsticks are a hit with everyone and pair wonderfully with marinara sauce.
Ingredients
- 2 cups all-purpose flour
- 1 tablespoon baking powder
- 1 teaspoon salt
- 1 cup shredded mozzarella cheese
- 2 tablespoons butter, melted
- 3/4 cup milk
- 1 teaspoon garlic powder
- 1 tablespoon dried Italian herbs (optional)
- Parmesan cheese for topping
- Marinara sauce for dipping
Instructions
- In a mixing bowl, combine flour, baking powder, salt, mozzarella cheese, garlic powder, and dried herbs. Whisk until mixed.
- Make a well in the dry ingredients, pour in melted butter and milk. Mix until dough forms, then knead on a floured surface for 5 minutes until smooth.
- Preheat oven to 400°F (200°C). Roll dough into a rectangle about 1/2 inch thick. Cut into strips, place on a baking sheet, brush with melted butter, and sprinkle with Parmesan.
- Bake for 15-20 minutes or until golden brown. Cool slightly and serve with marinara sauce.
Notes
- Store in an airtight container at room temperature for up to 3 days.
- For longer storage, freeze wrapped breadsticks in plastic wrap for up to 3 months.
- Experiment with different cheeses like cheddar or pepper jack for varied flavor.
- For healthier options, use whole wheat flour and less butter.
- Customize toppings with sesame seeds or chopped herbs.
- Prep Time: 15 minutes
- Cook Time: 20 minutes
- Category: Snack
- Method: Baking
- Cuisine: Italian
Nutrition
- Serving Size: 1 breadstick
- Calories: 150 Kcal
- Sugar: 1g
- Sodium: 260mg
- Fat: 6g
- Saturated Fat: 3g
- Unsaturated Fat: 2g
- Trans Fat: 0g
- Carbohydrates: 20g
- Fiber: 1g
- Protein: 5g
- Cholesterol: 15mg