Homemade Cheesy Breadsticks: A Cheesy Treat for Every Occasion 🧀🥖✨
1. Introduction: Discover the Magic of Homemade Cheesy Breadsticks

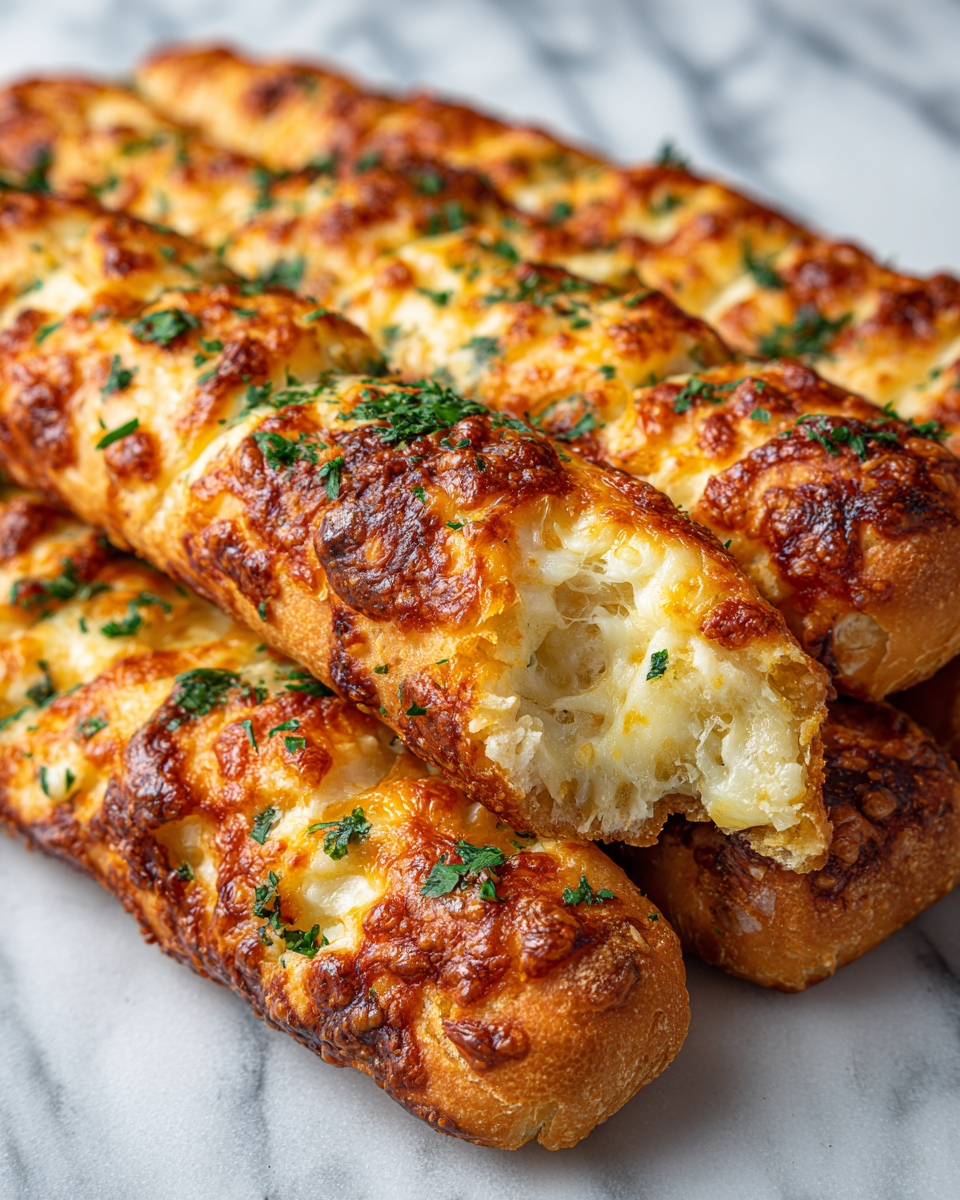
Welcome to the ultimate guide for creating absolutely irresistible Homemade Cheesy Breadsticks! If you’re searching for that perfect cheesy snack, look no further. These delightful breadsticks are perfect as an appetizer for a party, a comforting side for a cozy night in, or a delicious accompaniment to your favorite Italian meal. These **cheesy breadsticks** are surprisingly simple to make with just a few key ingredients, promising to awaken your taste buds and leave you craving more. The heavenly combination of warm, perfectly baked bread and luscious, gooey melted cheese creates a flavor experience that is utterly irresistible. Whether you call them **cheesy sticks** or **cheese bread**, the result is the same: pure deliciousness. So, let’s dive into how to make these exceptional cheesy delights and explore why homemade is always best. After trying these, browse our dinner recipes for a complete meal!
2. Ingredients: What You’ll Need for These Amazing Cheesy Sticks
To make these delectable homemade cheesy breadsticks, gather the following ingredients. We’ve carefully selected this list to ensure the best flavor and texture, providing you with the perfect **cheesy bread** experience.
- 2 cups all-purpose flour
- 1 tablespoon active dry yeast
- 1 cup warm water (about 110°F)
- 1 teaspoon sugar
- 1 teaspoon salt
- 1 cup shredded mozzarella cheese (for that ultimate cheese pull!)
- 1 teaspoon dried oregano
- 1 tablespoon olive oil
- Dipping sauce (optional, but highly recommended! Consider marinara, ranch, or even a homemade cheese sauce)
3. Step-by-Step Instructions: Crafting the Perfect Cheesy Bread
Step 1: Prepare the Dough: The Foundation of Your Cheesy Breadsticks
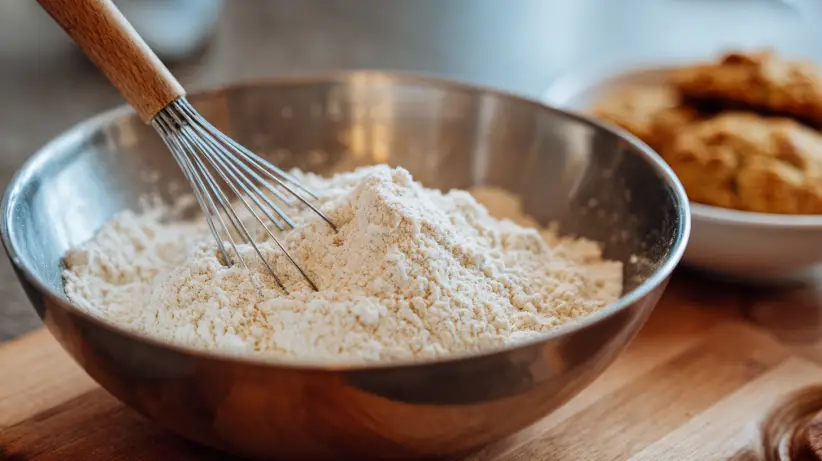
In a mixing bowl, combine warm water, sugar, and yeast. This mixture activates the yeast, helping your dough rise to perfection. Let it sit for about 5 minutes until foamy, indicating the yeast is alive and ready. In another bowl, whisk together the flour and salt. Gradually add the yeast mixture to the dry ingredients and mix until a shaggy dough forms. Then, knead the dough on a lightly floured surface for about 5 minutes until it becomes smooth and elastic. If you love bread, you might also like our Mediterranean Chicken Wraps, which also features a delicious dough element!
Step 2: Add Cheesy Goodness: Infusing Flavor into Your Cheese Breadsticks

Now comes the best part! Gently fold in the shredded mozzarella cheese and dried oregano into the dough. This step is absolutely crucial, as it infuses that irresistible cheesy flavor throughout the breadsticks, ensuring that every single bite is heavenly! Be sure to distribute the cheese evenly for maximum cheesy goodness in every **cheesy stick**.
Step 3: Shape the Breadsticks: Creating the Perfect Cheesy Sticks
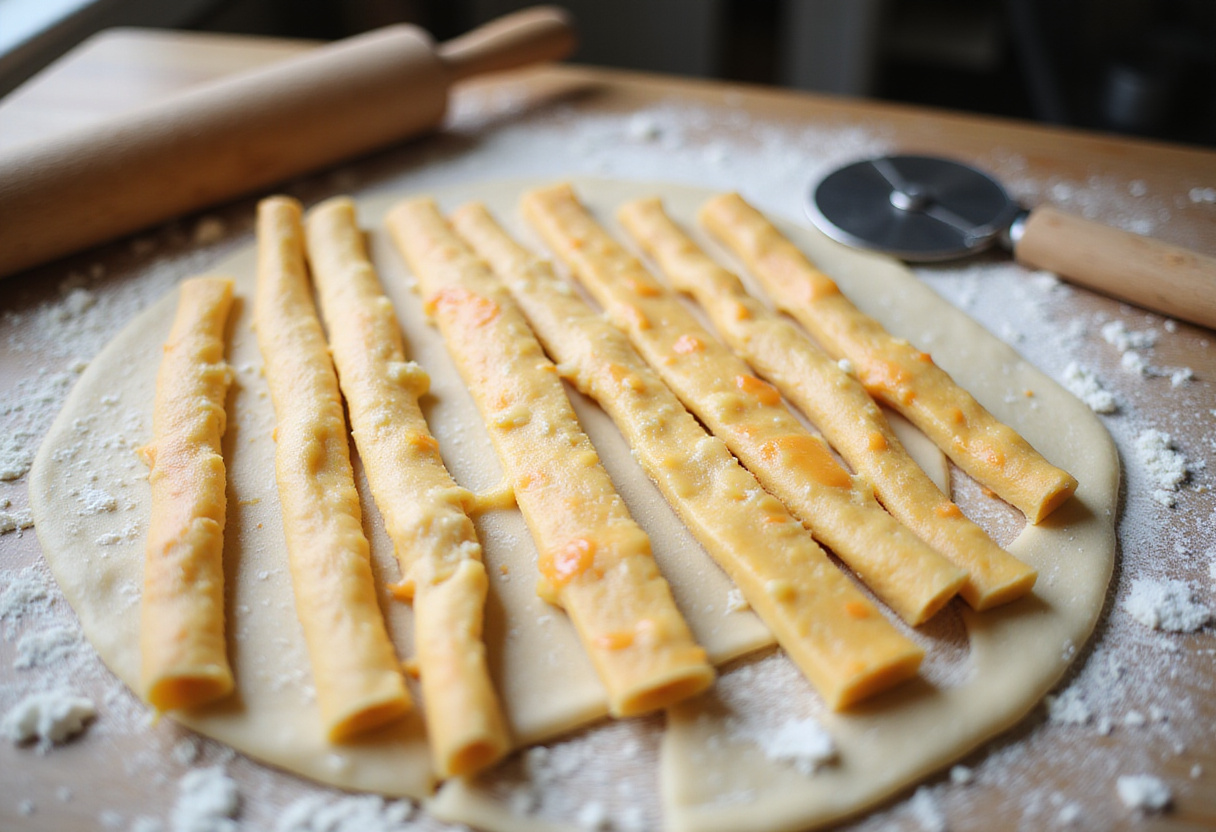
Roll out the dough on a lightly floured surface to your desired thickness – about ¼ inch is ideal. Using a sharp knife or pizza cutter, carefully cut the dough into strips, approximately 1 inch wide and 6 inches long. Place the strips on a baking sheet lined with parchment paper (this prevents sticking!), making sure to leave some space between each strip to allow for expansion during baking. Need a quick and easy veggie side? Try our Easy Air Fryer Zucchini Parmesan!
Step 4: Bake to Perfection: Delivering the Ultimate Cheese Bread Experience
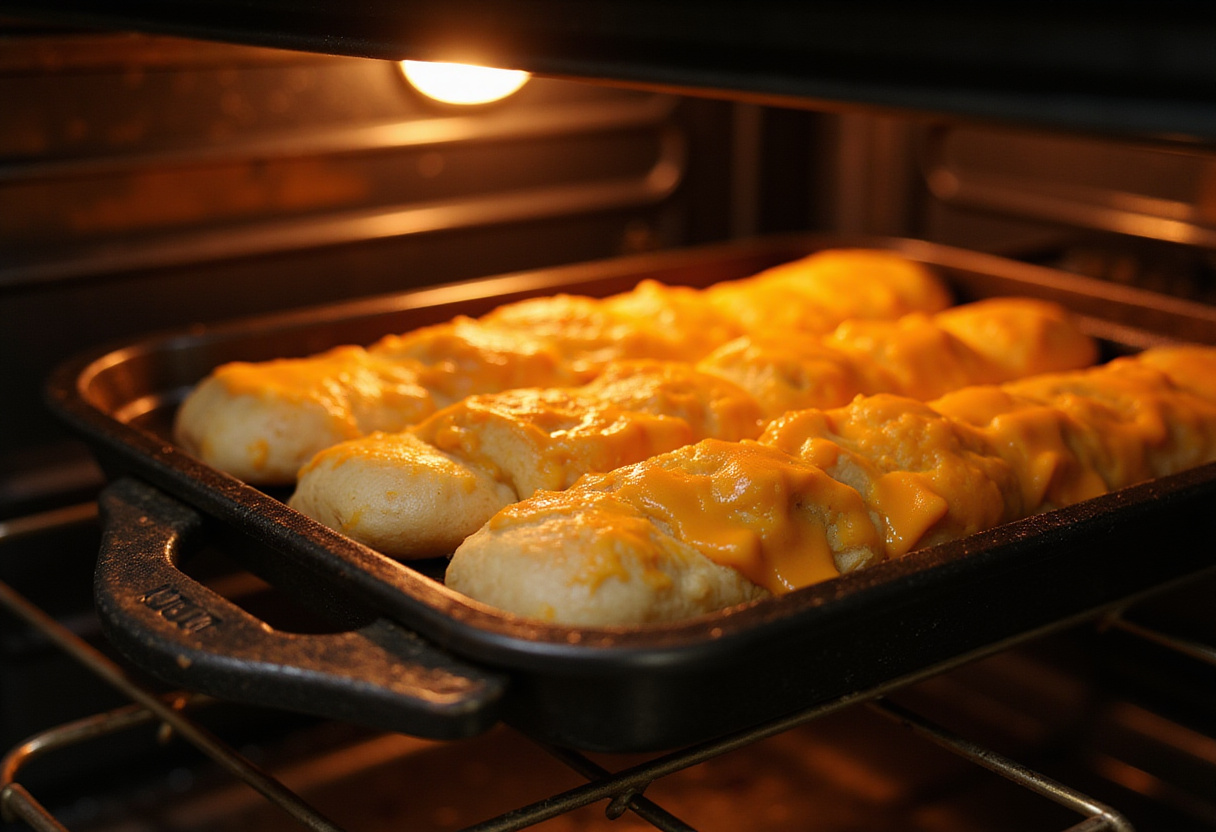
Preheat your oven to 400°F (200°C). Before placing the breadsticks in the oven, brush them lightly with olive oil for a golden and crispy finish. Bake the breadsticks for about 15-18 minutes, or until they turn a beautiful golden brown and the cheese is melted and bubbly. The irresistible aroma will fill your kitchen, making it incredibly hard to resist the temptation to snack on them right away! For more cheesy goodness, check out our Ultimate High-Protein Veggie Bake with Cottage Cheese.
4. Storage Tips: Keeping Your Homemade Cheesy Breadsticks Fresh
To properly store your delightful homemade cheesy breadsticks, allow them to cool completely on a wire rack before placing them in an airtight container. This prevents moisture from building up and making them soggy. They can be kept in the refrigerator for up to 3 days or stored in the freezer for up to a month for longer enjoyment. For the best results, reheat them in the oven or a toaster oven to restore their delightful crispy texture before serving. If you’re looking for another recipe with great storage potential, our Healthy Chicken Cauliflower Rice Casserole is a fantastic option.
5. Serving Suggestions: Enhancing Your Cheesy Bread Experience
These incredible cheesy breadsticks are absolutely fantastic all on their own, making them the perfect snack any time of day! However, they also pair wonderfully with your favorite dipping sauces, such as classic marinara, creamy ranch, or even a zesty homemade cheese dip! Serve them at your next gathering, during exciting game nights, or simply as a savory and satisfying snack that everyone, from kids to adults, will absolutely love. They are also a perfect side to a stir fry dish such as Quick & Easy Honey Garlic Ground Beef and Broccoli Stir Fry.
6. FAQs: Your Questions About Cheesy Bread, Answered!
Can I use different types of cheese for these cheesy breadsticks?
Absolutely! While mozzarella is a classic and always a reliable choice, feel free to experiment with other flavorful cheeses like cheddar for a sharper taste, parmesan for a nutty note, or even a delightful blend of Italian cheeses for a more complex flavor profile. Get creative and find your perfect **cheese bread** combination!
How do I know when the breadsticks are perfectly done?
The key is to look for a beautiful golden-brown color on the top of the breadsticks and a firm texture overall. You can also gently tap the bottom of a breadstick; if it sounds hollow, that’s a great indication that they’re perfectly baked and ready to enjoy!
Can I prepare the dough ahead of time for these cheese sticks?
Yes, absolutely! Preparing the dough in advance is a great time-saving tip. You can prepare the dough according to the recipe instructions and then let it rise slowly in the refrigerator overnight. When you’re ready to bake, just make sure to take the dough out of the refrigerator and let it come to room temperature for about 30 minutes before proceeding with the recipe.
7. Tips for Perfect Cheese Breadsticks: Unlock the Secret to Cheesy Perfection
To ensure your homemade cheesy breadsticks turn out perfectly every single time, keep these essential tips in mind. First, always ensure that your yeast is active; this guarantees the best rise and a light, airy texture. Next, knead the dough thoroughly to properly develop the gluten, which gives the breadsticks their signature chewy texture. Finally, don’t rush the baking time – that beautiful golden-brown color is absolutely key to developing the rich, delicious flavor we all crave in a perfect **cheesy bread**.
For another great recipe, try these cheesy breadsticks at Valerie’s Kitchen.
8. Variations to Try: Customize Your Cheesy Breadsticks
Want to add your own special touch to these already amazing cheesy breadsticks? Here are a few fun and delicious variations to try! Consider adding some minced garlic or your favorite Italian spices directly to the dough for an extra flavor punch that will tantalize your taste buds. You can also sprinkle some fresh or dried herbs, such as rosemary, thyme, or basil, on top of the breadsticks before baking them for a beautiful and aromatic finishing touch. For another delicious experience try our Grilled Chicken Broccoli Bowls with Creamy Garlic Sauce
9. Conclusion: Enjoy Your Homemade Cheesy Breadsticks!
Congratulations! You now have a foolproof recipe for crafting absolutely irresistible Homemade Cheesy Breadsticks that are guaranteed to impress your friends and family! With their perfect blend of cheesy goodness and a delightfully golden, crusty exterior, these breadsticks are bound to be a hit at any gathering, big or small. So go ahead, enjoy the process of making and sharing this truly delicious treat – you’ve earned it! Need another quick recipe? Check out our 10-Minute Air Fryer Chicken Sausage and Veggies.
PrintHomemade Cheesy Breadsticks
- Total Time: 33 minutes
- Yield: 12 breadsticks 1x
- Diet: Vegetarian
Description
Indulge in these homemade cheesy breadsticks, perfect for any occasion! Warm, gooey, and loaded with mozzarella, these breadsticks are a delightful treat that pair wonderfully with dipping sauces.
Ingredients
- 2 cups all-purpose flour
- 1 tablespoon active dry yeast
- 1 cup warm water (about 110°F)
- 1 teaspoon sugar
- 1 teaspoon salt
- 1 cup shredded mozzarella cheese
- 1 teaspoon dried oregano
- 1 tablespoon olive oil
- Dipping sauce (optional, like marinara or ranch)
Instructions
- In a mixing bowl, combine warm water, sugar, and yeast; let it sit for about 5 minutes until foamy.
- In another bowl, mix the flour and salt. Gradually add the yeast mixture to the dry ingredients and mix until a dough forms. Knead the dough on a floured surface for about 5 minutes until smooth.
- Fold in the shredded mozzarella cheese and dried oregano into the dough.
- Roll out the dough on a floured surface to your desired thickness. Cut the dough into strips and place them on a lined baking sheet.
- Preheat your oven to 400°F (200°C) and bake the breadsticks for about 15-18 minutes or until golden brown.
Notes
- To store, let breadsticks cool completely before placing them in an airtight container; refrigerate for up to 3 days or freeze for up to a month.
- Reheat in the oven for best texture before serving.
- Feel free to experiment with different cheeses for varied flavors.
- Prep Time: 15 minutes
- Cook Time: 18 minutes
- Category: Appetizer
- Method: Baking
- Cuisine: Italian
Nutrition
- Serving Size: 1 breadstick
- Calories: 150 Kcal
- Sugar: 1g
- Sodium: 250mg
- Fat: 4g
- Saturated Fat: 1.5g
- Unsaturated Fat: 2.5g
- Trans Fat: 0g
- Carbohydrates: 24g
- Fiber: 1g
- Protein: 5g
- Cholesterol: 5mg