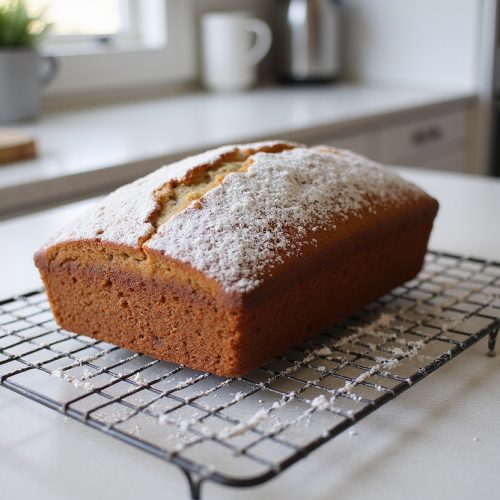
Introduction: What is No-Knead Bread?
There’s something magical about freshly baked bread. The aroma that fills your home, the golden-brown crust, and the soft, chewy texture—bread made from scratch is one of life’s greatest pleasures. However, the traditional method of making bread can seem intimidating. The kneading, the timing, and the exact measurements can all seem like obstacles.
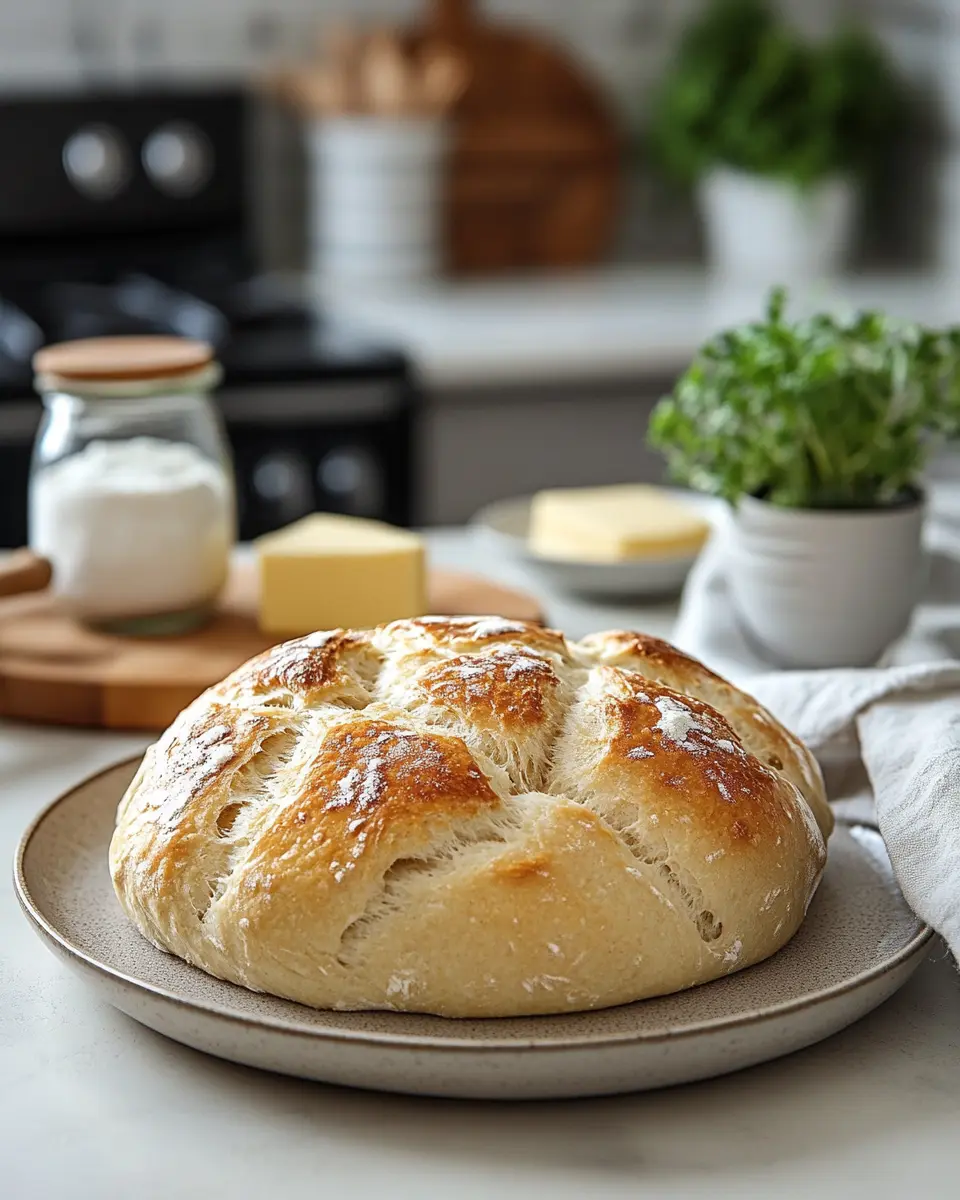
Enter no-knead bread: a revolutionary way of making homemade bread without the hassle of kneading. Yes, you heard that right—bread made with minimal effort and absolutely no kneading. It’s a technique that’s simple, foolproof, and requires very little active time in the kitchen. The beauty of no-knead bread lies in its simplicity. All it takes is a few basic ingredients, a long resting period, and a hot oven to yield a loaf with a crispy crust and soft, flavorful interior.
Whether you’re new to baking or a seasoned pro, no-knead bread is a game-changer. In this guide, we’ll explore everything you need to know about making the perfect no-knead bread. We’ll walk you through the ingredients, the process, expert tips, troubleshooting, variations, and much more.
So grab your apron, and let’s dive into the world of no-knead bread!
Ingredients for No-Knead Bread
The ingredients for no-knead bread are minimal, and they’re likely already in your pantry. Here’s what you’ll need:
- 3 cups all-purpose flour: This forms the base of the bread. You can also use bread flour for a chewier texture, but all-purpose flour works wonderfully for this recipe.
- 1 teaspoon salt: Salt adds flavor to the bread and also helps with the fermentation process.
- 1/4 teaspoon instant yeast: Instant yeast is convenient because you don’t need to activate it in water beforehand, as you would with active dry yeast.
- 1 1/2 cups warm water: The warm water helps activate the yeast, giving your dough a boost of energy.
- 1 tablespoon olive oil (optional): This adds flavor and helps make the bread a little richer.
That’s it! These are the basic ingredients for a simple no-knead bread recipe. The long resting time and the natural fermentation process are what give this bread its unique flavor and texture, making it a perfect homemade option for bread lovers.
Step-by-Step Instructions for No-Knead Bread
Making no-knead bread is surprisingly simple. Here’s a step-by-step guide to help you create a delicious loaf:
Step 1: Mix the Ingredients
In a large mixing bowl, combine the flour, salt, and instant yeast. Give it a quick stir to evenly distribute the yeast and salt. Then, slowly add the warm water and olive oil (if using). Stir everything together with a wooden spoon or your hands until the dough forms. It will be sticky and shaggy, and that’s perfectly okay. The lack of kneading is what helps create the unique texture of no-knead bread.
Step 2: Cover and Rest the Dough
Once everything is mixed together, cover the bowl tightly with plastic wrap or a damp cloth. Let the dough rest at room temperature for about 12-18 hours. During this time, the yeast will work its magic, and the dough will rise and develop flavor. You’ll notice that the dough will have doubled in size by the end of the resting period. It should be bubbly and have an airy, sticky texture.
Step 3: Preheat the Oven and Prepare the Dutch Oven
About 30 minutes before you’re ready to bake the bread, place your Dutch oven or any oven-safe pot with a lid into the oven and preheat it to 450°F (230°C). Preheating the Dutch oven ensures that the bread will bake evenly and get that beautiful golden crust. If you don’t have a Dutch oven, you can also use a baking sheet and cover the dough with aluminum foil, though the Dutch oven will give you the best results.
Step 4: Shape the Dough
Once the dough has rested and risen, lightly flour your countertop. Scrape the dough out of the bowl onto the floured surface. The dough will be sticky, but that’s normal! Using floured hands or a spatula, fold the dough over itself a few times to shape it into a rough ball. You don’t need to worry about perfection here—the beauty of no-knead bread is that the dough doesn’t need to be perfectly shaped.
Step 5: Let the Dough Rest Again
Once shaped, place the dough on a piece of parchment paper. Let it rest for about 30 minutes while the oven finishes preheating. This second rest allows the dough to rise a bit more before baking and ensures it has a nice texture.
Step 6: Bake the Bread
After the dough has rested, carefully remove the preheated Dutch oven from the oven. Place the dough (with the parchment paper) into the pot. Cover it with the lid and bake for 30 minutes. After 30 minutes, remove the lid to allow the bread to develop a crispy, golden crust. Bake for an additional 10-15 minutes until the bread is a deep golden color and sounds hollow when tapped on the bottom.
Step 7: Cool and Serve
Once your bread is baked to perfection, remove it from the Dutch oven and allow it to cool on a wire rack for at least 30 minutes before slicing. The cooling process is essential, as it helps the bread set and makes it easier to slice without losing its structure.
Why No-Knead Bread Works
You might be wondering: How can bread work without any kneading? The secret lies in the long fermentation time. By allowing the dough to rise for 12-18 hours, the yeast has enough time to do its job, breaking down the starches and sugars in the flour. This slow rise is what gives no-knead bread its characteristic flavor, with a slightly tangy, complex taste that’s hard to achieve with traditional quick-rise methods.
Additionally, the long fermentation process allows the dough to develop a strong gluten network, which helps the bread rise without needing to be kneaded. The moisture in the dough is also crucial, creating a sticky and airy texture that results in a soft, chewy crumb.
Tips for the Best No-Knead Bread
- Use a Dutch Oven: While it’s possible to make no-knead bread without one, a Dutch oven helps create the ideal environment for baking. The heavy lid traps moisture, which creates steam and promotes a crispy crust.
- Don’t Rush the Resting Time: While it might be tempting to reduce the resting period, trust the process. The longer the dough rests, the more flavorful and airy the bread will be.
- Use Room Temperature Water: Using water at room temperature (around 70°F) helps activate the yeast and ensures that the dough rises properly. If the water is too hot, it could kill the yeast.
- Don’t Overmix: Since the bread doesn’t require kneading, you don’t need to worry about overmixing the dough. Simply stir until everything is incorporated.
- Use Fresh Yeast: Make sure your yeast is fresh, as older yeast might not rise as effectively and could result in a denser loaf.
Common Mistakes to Avoid
- Underbaking the Bread: The bread should have a deep golden color and sound hollow when tapped. If your bread isn’t fully baked, it will have a gummy texture inside.
- Not Preheating the Dutch Oven: A cold Dutch oven won’t create the steamy environment needed for the bread to rise and form a crispy crust.
- Skipping the Second Rise: The second rise is crucial for giving the dough more structure. Don’t skip this step, as it ensures your bread has an airy, light texture.
- Using Too Much Flour: If the dough is too dry, it will result in a dense loaf. The dough should be sticky and moist, so don’t add too much flour.
Variations of No-Knead Bread
While the basic recipe is delicious on its own, there are plenty of ways to mix things up and add your own twist to the bread. Here are some variations you can try:
1. Whole Wheat No-Knead Bread
Replace part or all of the all-purpose flour with whole wheat flour for a heartier, more rustic bread. Whole wheat flour will give the bread a nutty flavor and slightly denser texture, but it’s a great option for a healthier loaf.
2. Garlic and Herb No-Knead Bread
Add minced garlic and dried herbs like rosemary, thyme, and oregano to the dough before the first rise. This creates a flavorful, savory bread perfect for pairing with soups, stews, or pasta.
3. Cheese No-Knead Bread
For a cheesy version, fold in grated Parmesan, cheddar, or Gruyère cheese during the mixing process. You can also sprinkle extra cheese on top of the dough before baking for a delicious cheesy crust.
4. Olive and Sun-Dried Tomato No-Knead Bread
Chop up sun-dried tomatoes and olives and fold them into the dough for a Mediterranean-inspired bread. The saltiness of the olives pairs perfectly with the rich, tangy sun-dried tomatoes.
5. Sweet No-Knead Bread
For a sweeter version of no-knead bread, add a couple of tablespoons of sugar or honey to the dough. You can also fold in dried fruits like cranberries or raisins, and even sprinkle some cinnamon and nutmeg for a warm, comforting flavor.
Conclusion: The Joy of No-Knead Bread
No-knead bread is truly a revelation in the world of baking. It’s simple, requires minimal hands-on time, and yields a loaf of bread that’s as good—if not better—than anything you could buy at the store. With just a few basic ingredients and some patience, you can create a delicious loaf of bread that will impress your friends and family.
By following the simple steps outlined in this guide and experimenting with different variations, you’ll be well on your way to becoming a no-knead bread master. Happy baking!

